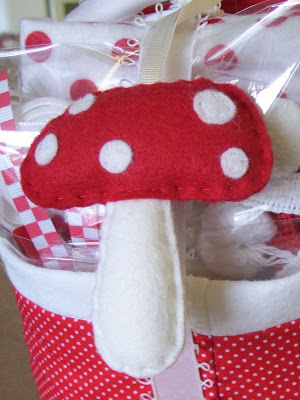
Click the picture below for your FREEBIE pattern ::

(right click the picture and select PRINT TARGET)
Freebie Instructions ::

cut out 2 stems, 2 mushroom tops and 5 or 6 little circles for the dots.

sew around the stem with short little stitches

Stuff it!
the hole to get the stuffing in is a little small...the easiest way is to poke it in with a pen!

keep adding little bits of stuffing until it's nice and full.

Next, stitch the little circles into place, they can go where ever you fancy...using little white buttons would look good too!

Start to stitch your red mushroom top together, adding the ribbon and the stem as you sew.

Leave a gap and firmly stuff the rest of your mushroom

Ta-Dah!

No comments:
Post a Comment